Getting Your Infrared Heaters and Controllers to Actually Work Together
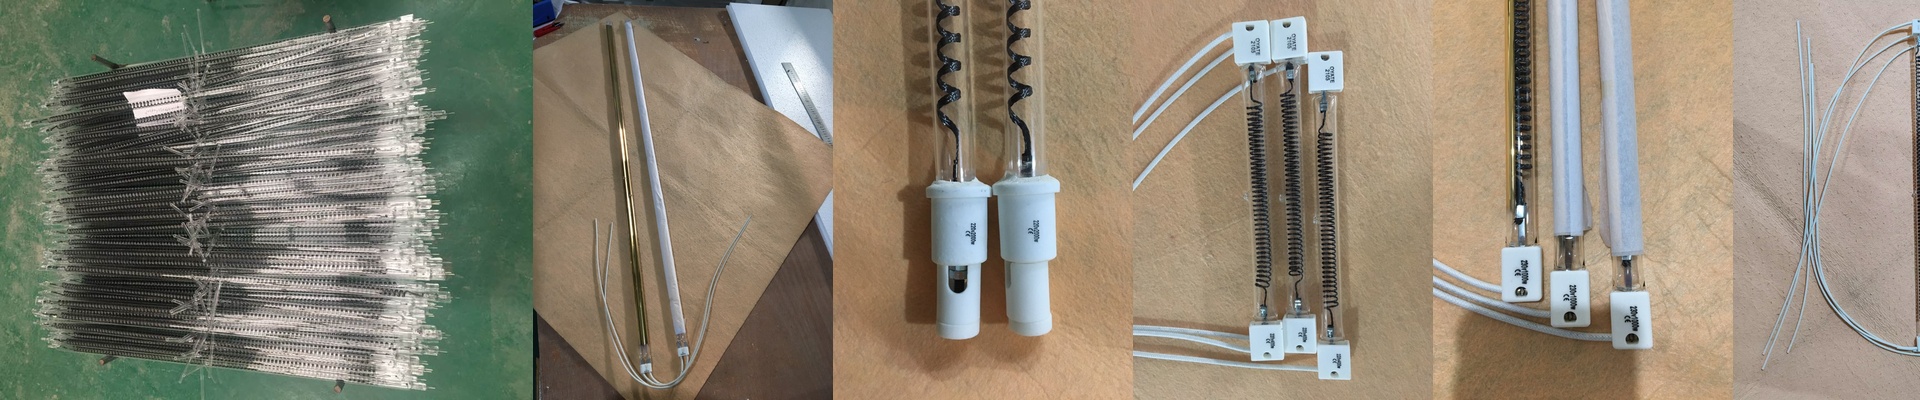
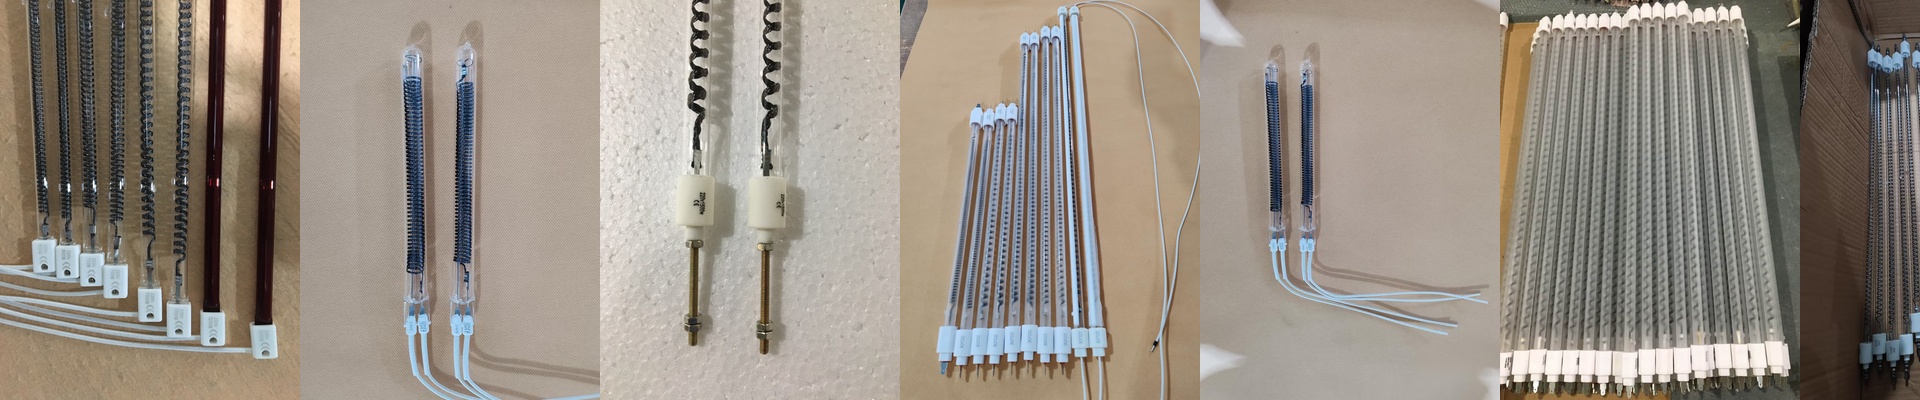
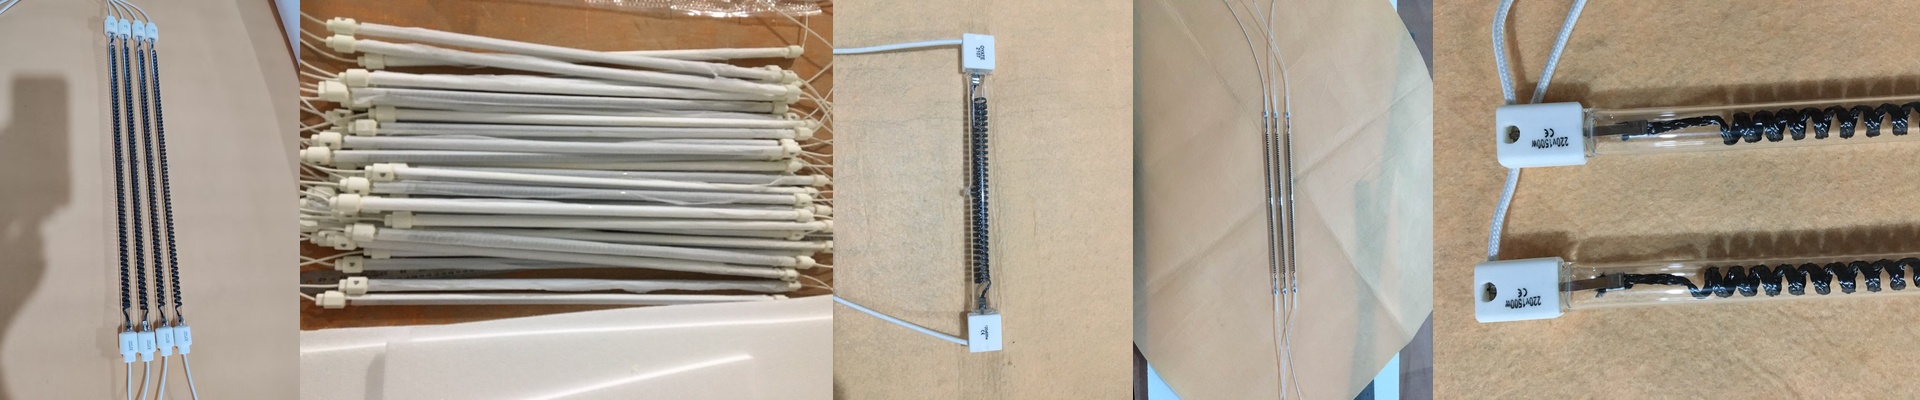
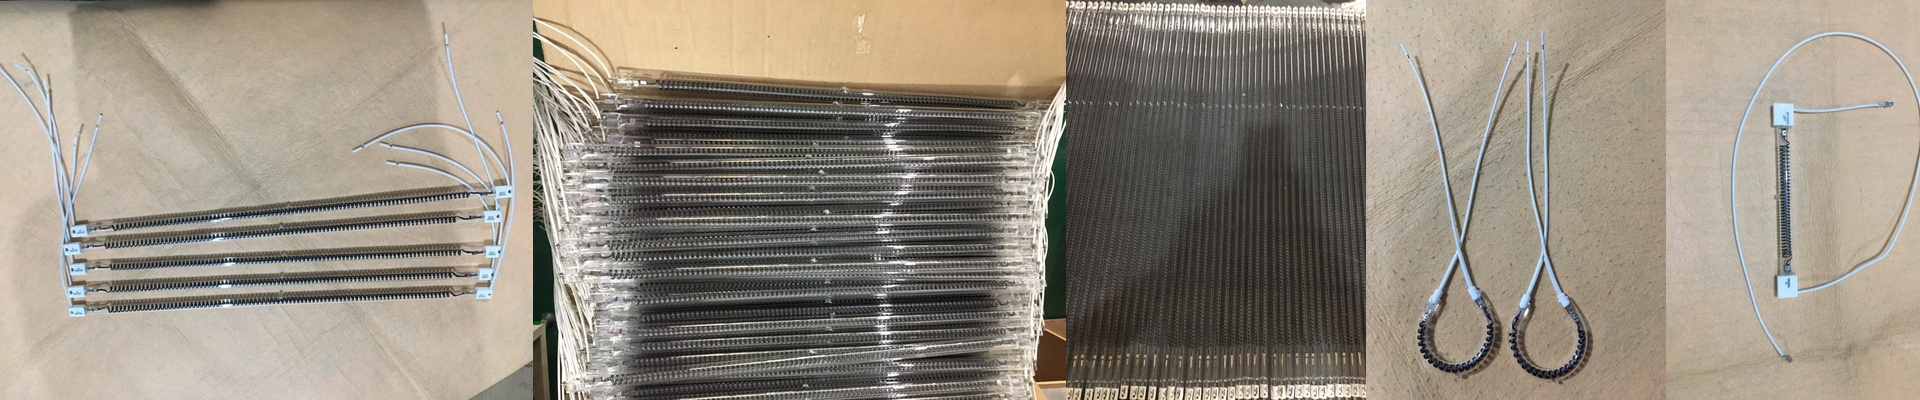
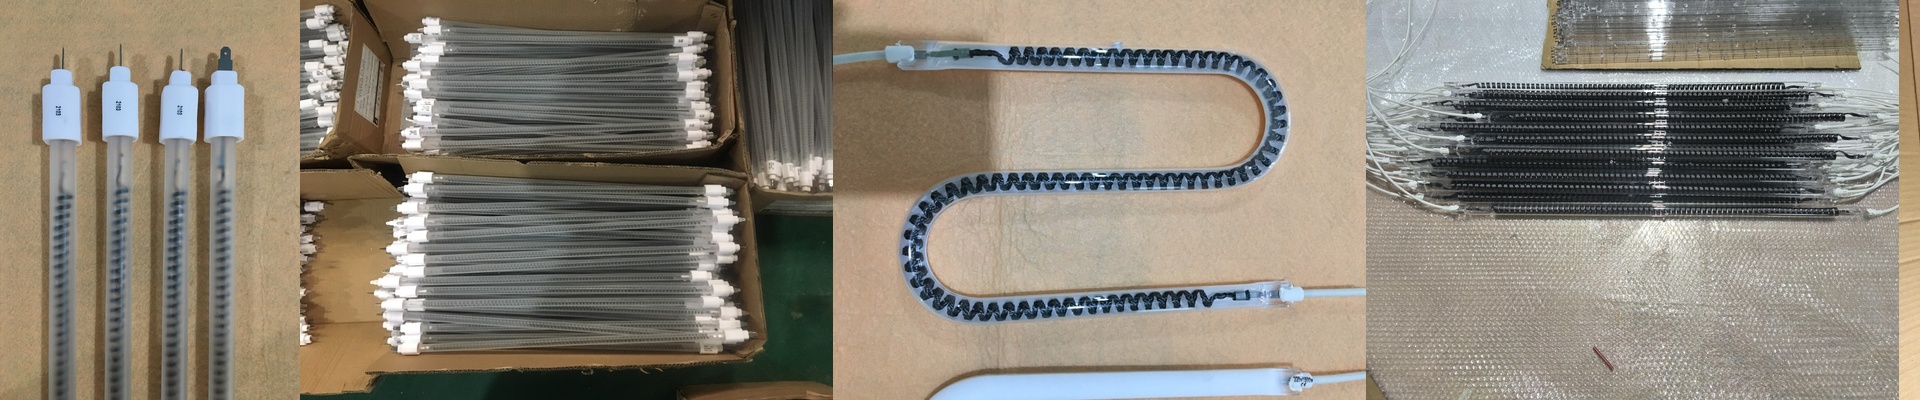
Look, we don’t just ship you a box of parts and wish you luck. We’re here to help you figure out the right setup so your process stops drifting. Think of it this way: the digital controller is the brain, and the heater is the muscle. When you pair a PID controller with a high-density infrared lamp, you stop guessing. You just lock the heat in. The voltage trap Here is where most people mess up: matching the controller to the heater’s voltage. If you’re running 230V or 400V, your controller has to be tough enough to handle that load. If it isn’t, you’re just waiting for the relays to burn out. High-wattage lamps put out a ton of heat. If your cooling fans and housing aren’t up to the task, the whole thing will just overheat and shut down. Not a great way to spend a Tuesday. Why PID actually matters Old-school on/off switches are a nightmare. They cause these huge temperature swings that mess with your product. We use PID logic to throttle the power instead. Rather than slamming the heater on and off like a light switch, the controller pulses the energy. It keeps the surface temperature flat. No scorching. No ruined materials. And because you aren’t shocking the heating element with constant extreme shifts, the hardware lasts a lot longer. Setting it up You need the right eyes on the process. K-type or J-type thermocouples give the controller the real-time data it needs to make decisions. When it comes to the physical install, we keep things tight. A compact controller saves you a ton of rail space in your cabinet, but give it some breathing room. It needs airflow to stay happy. Switching from an old analog system to this setup usually means way less scrap in the bin. You get a system that actually holds a setpoint. It lets the machine do the heavy lifting so your operator can actually breathe.